Build a Linear Actuator
Project description
This project demonstrates how to reconfigure old drilldriver motors into high-power linear actuators. Linear actuators are valuable electromitive mechanisms in the field of robotics.
Materials
- Electric drill driver
- Plywood
- Wood screws
- Threaded rod
- Aluminum block
Tools
- Electric drill driver
- x/y drill bit
- x/y drill bit
- Handsaw
- Circular table saw
- Rotary grinder with a metal cutting disk
- x/y threaded tap
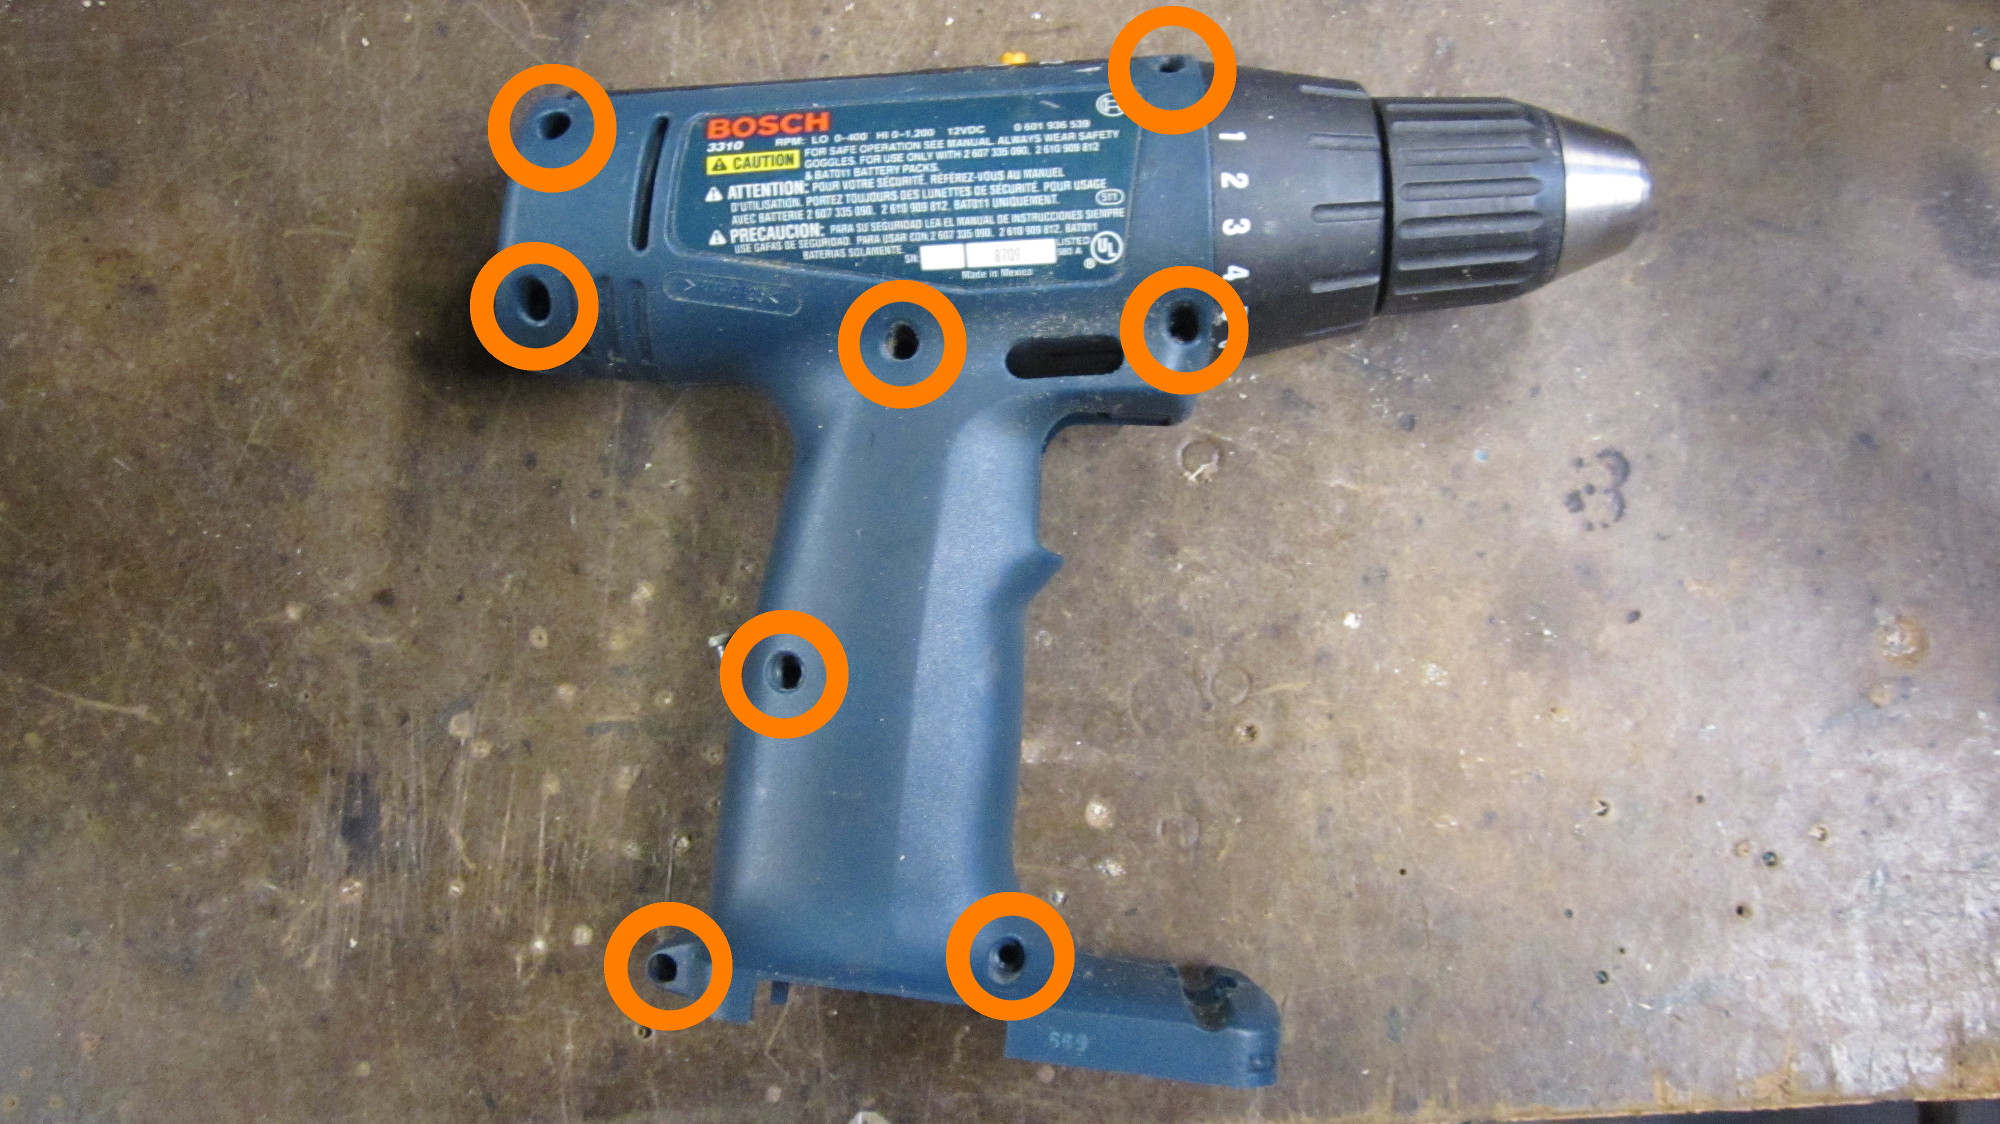
Begin by removing the screws from the drill driver's plastic housing.
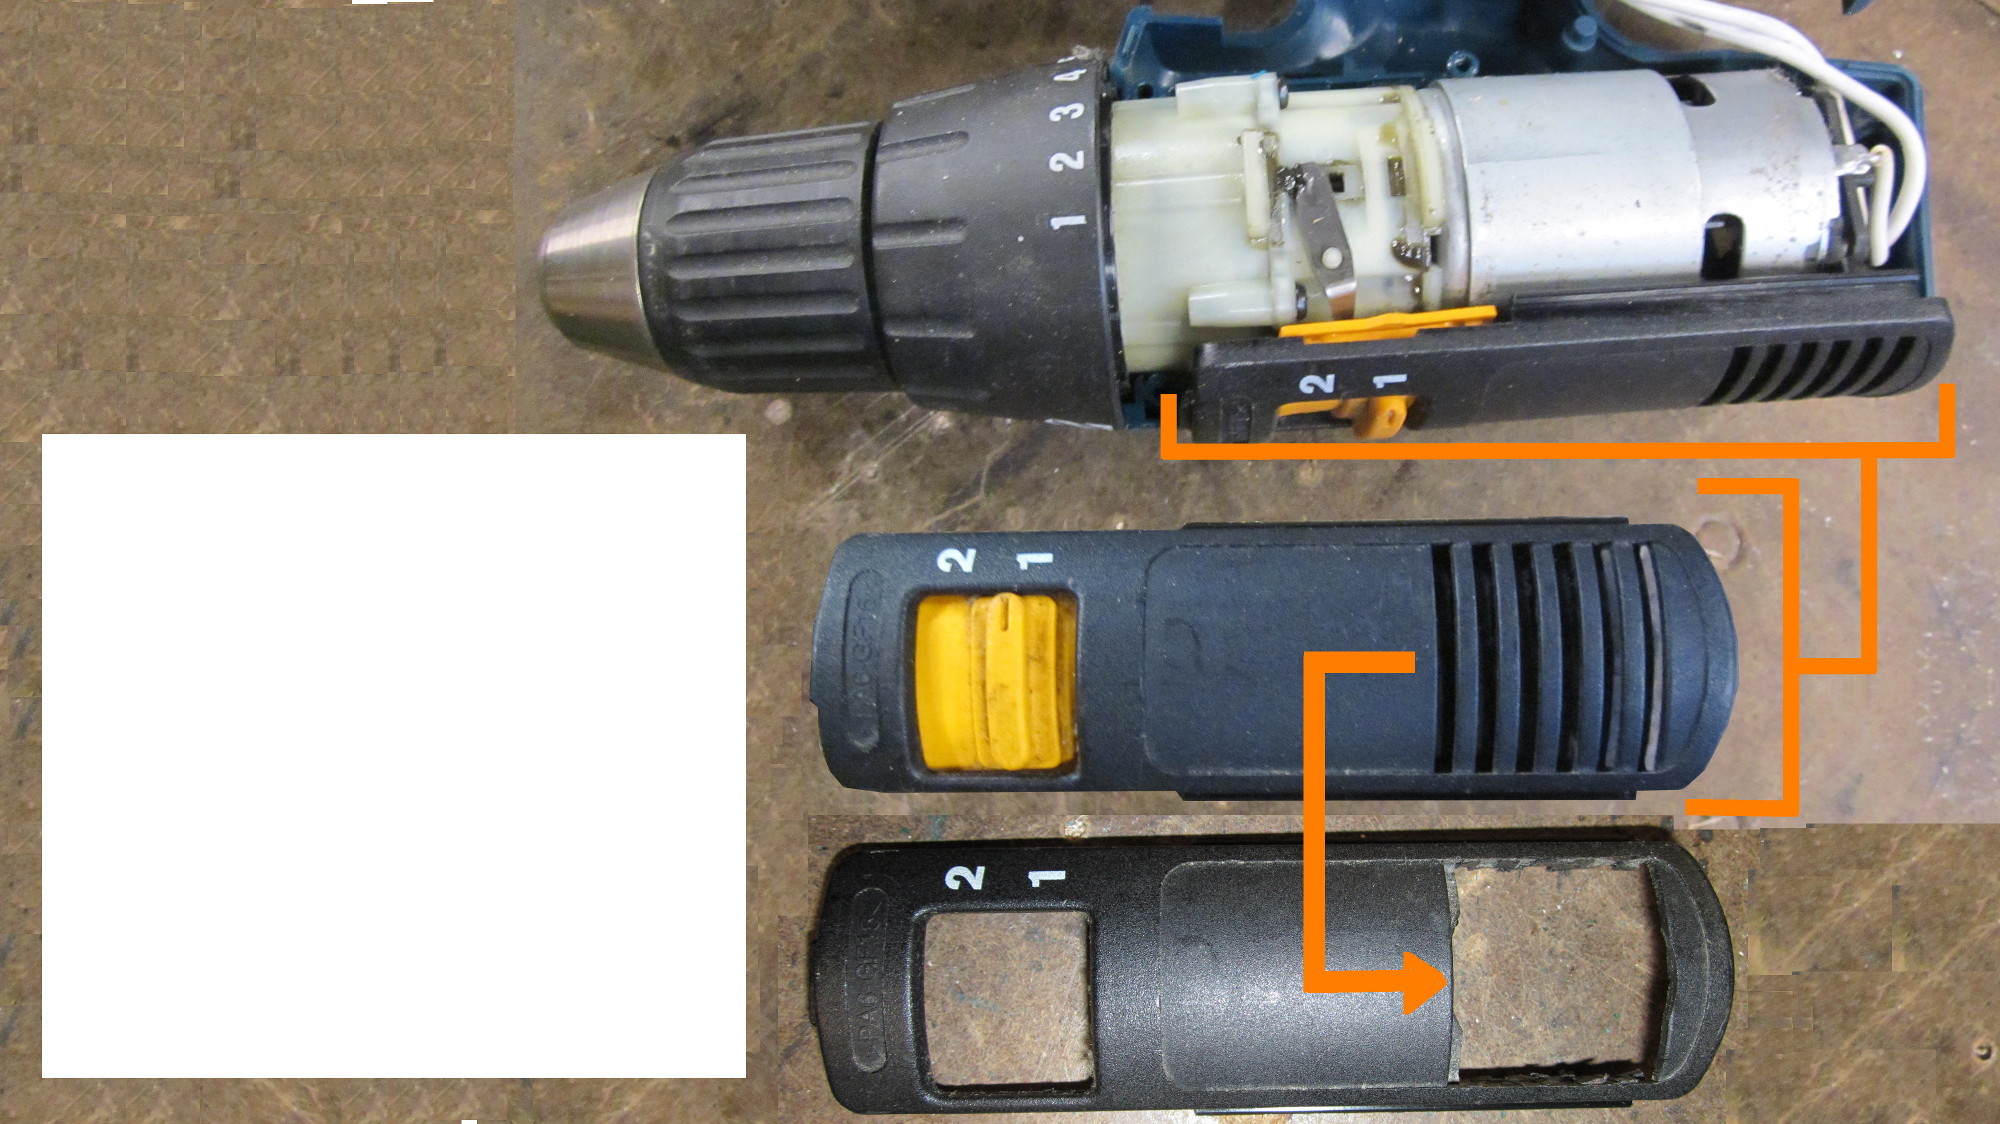
Remove the top panel and use a small handsaw saw to cut out the vent cover.
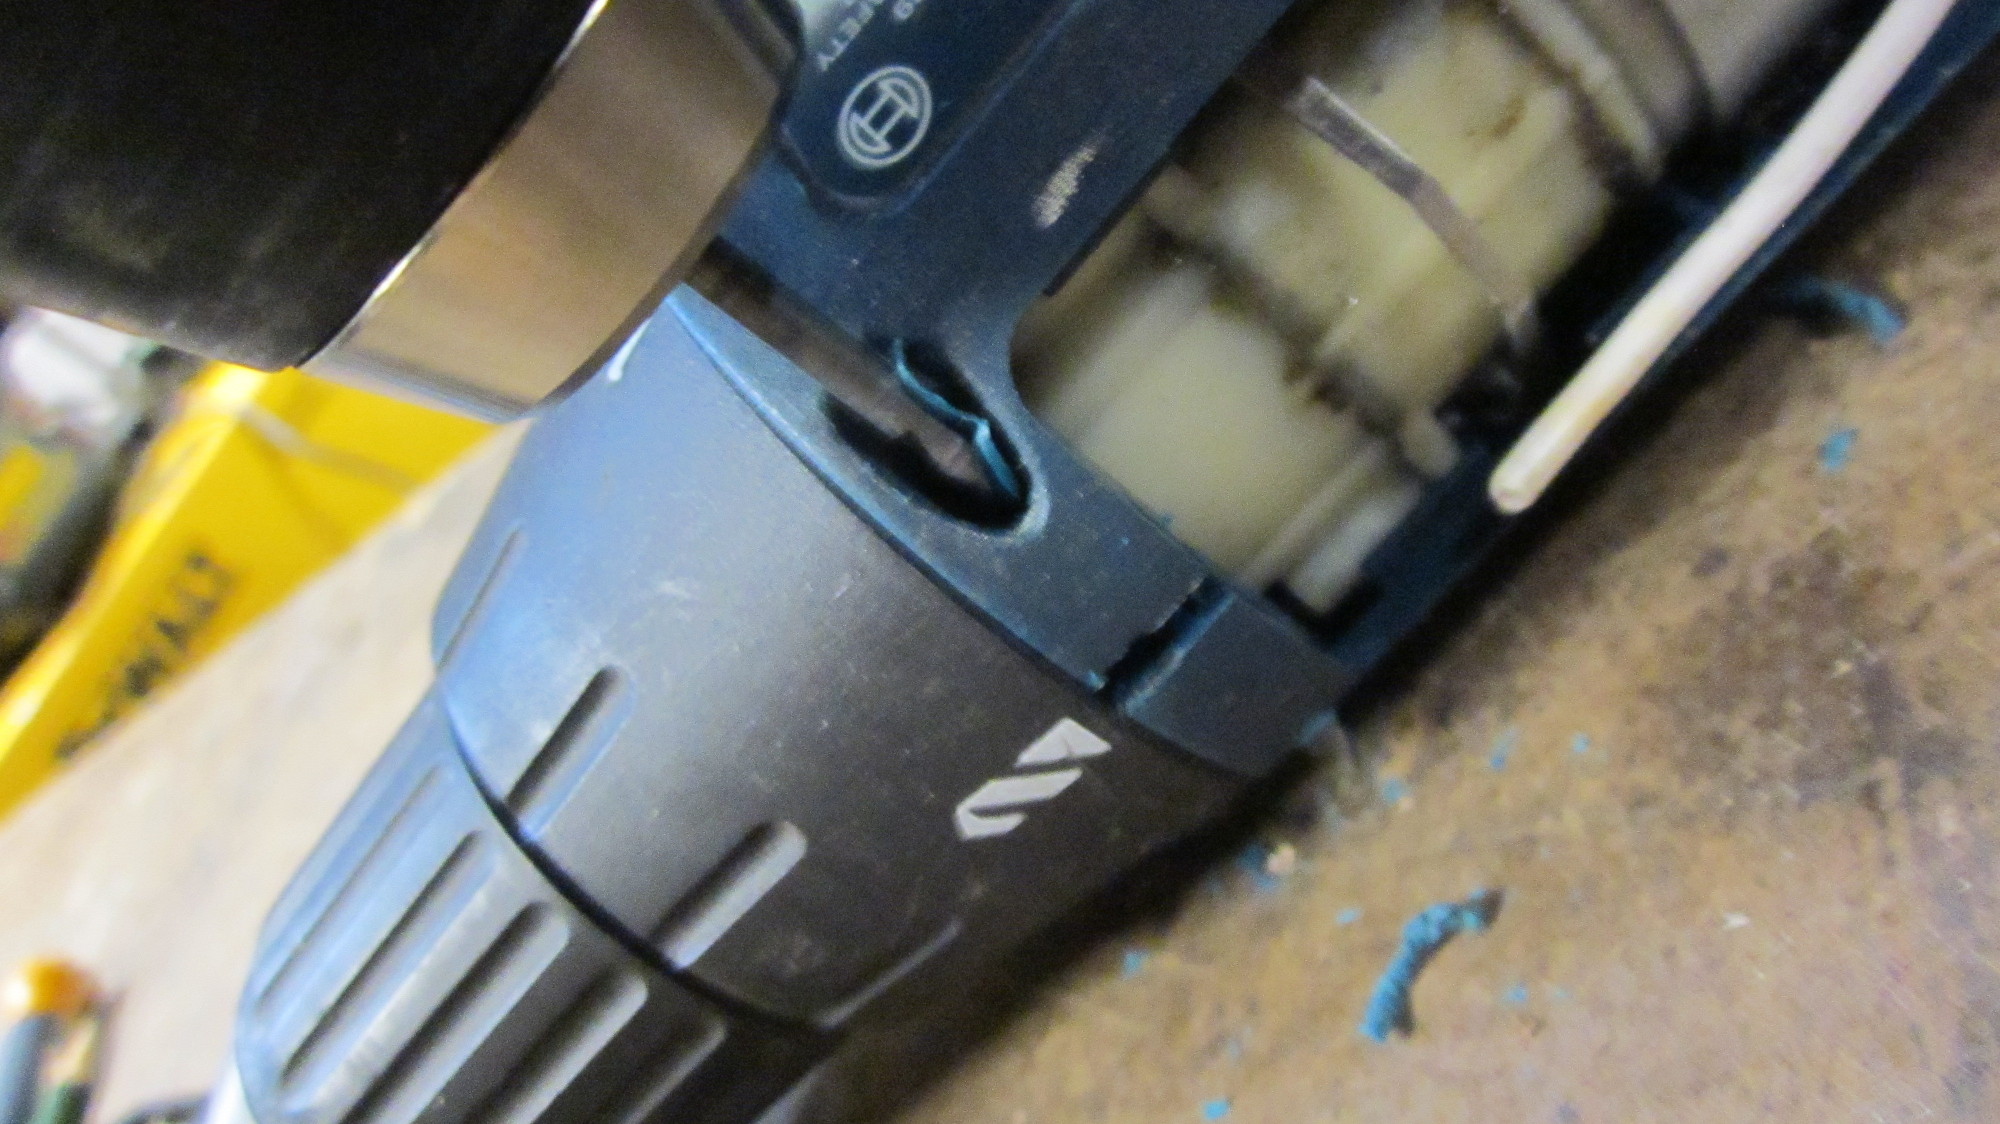
Use a 1/8 inch drill bit to drill through the screw holes on either side of the mandril.
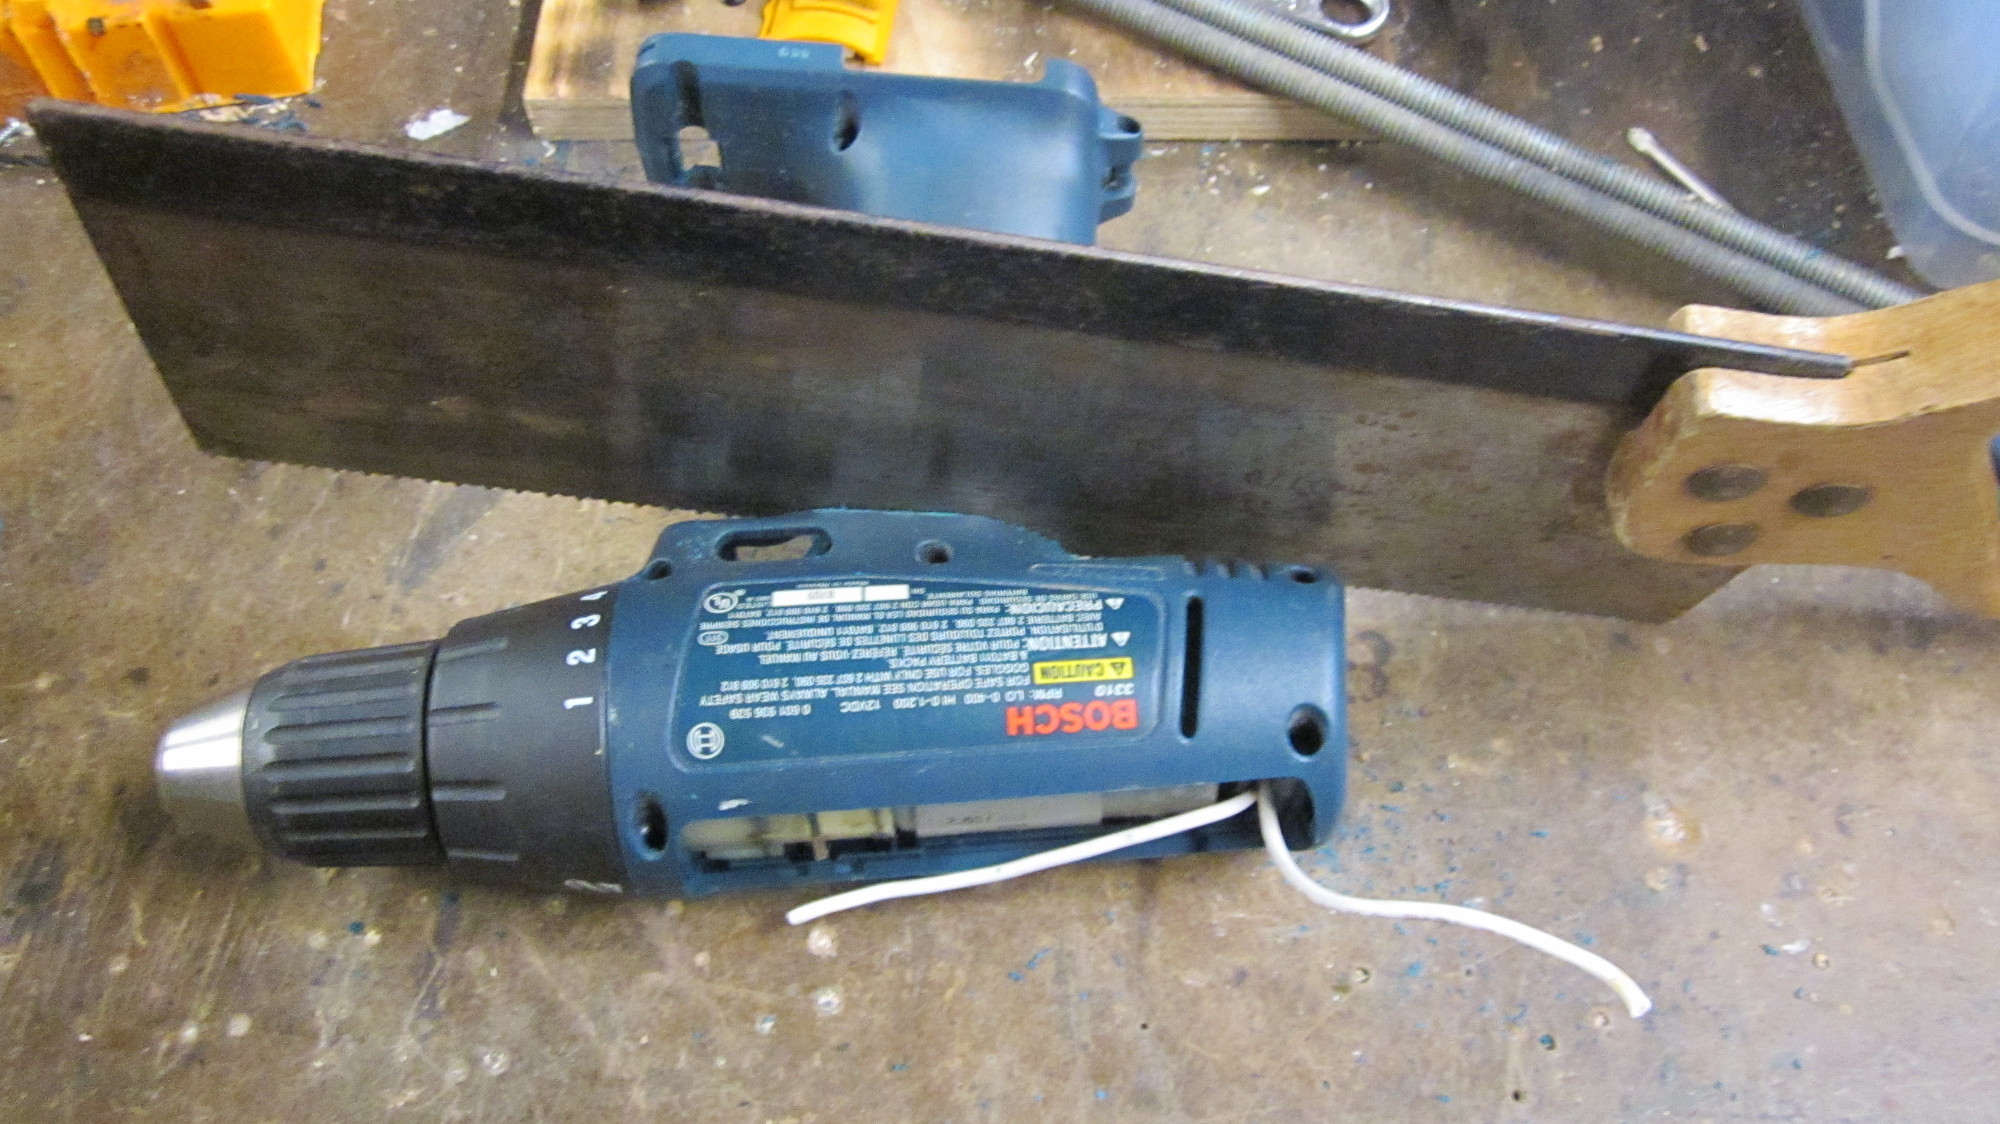
Saw off the handle flush with the bottom of the motor enclosure.
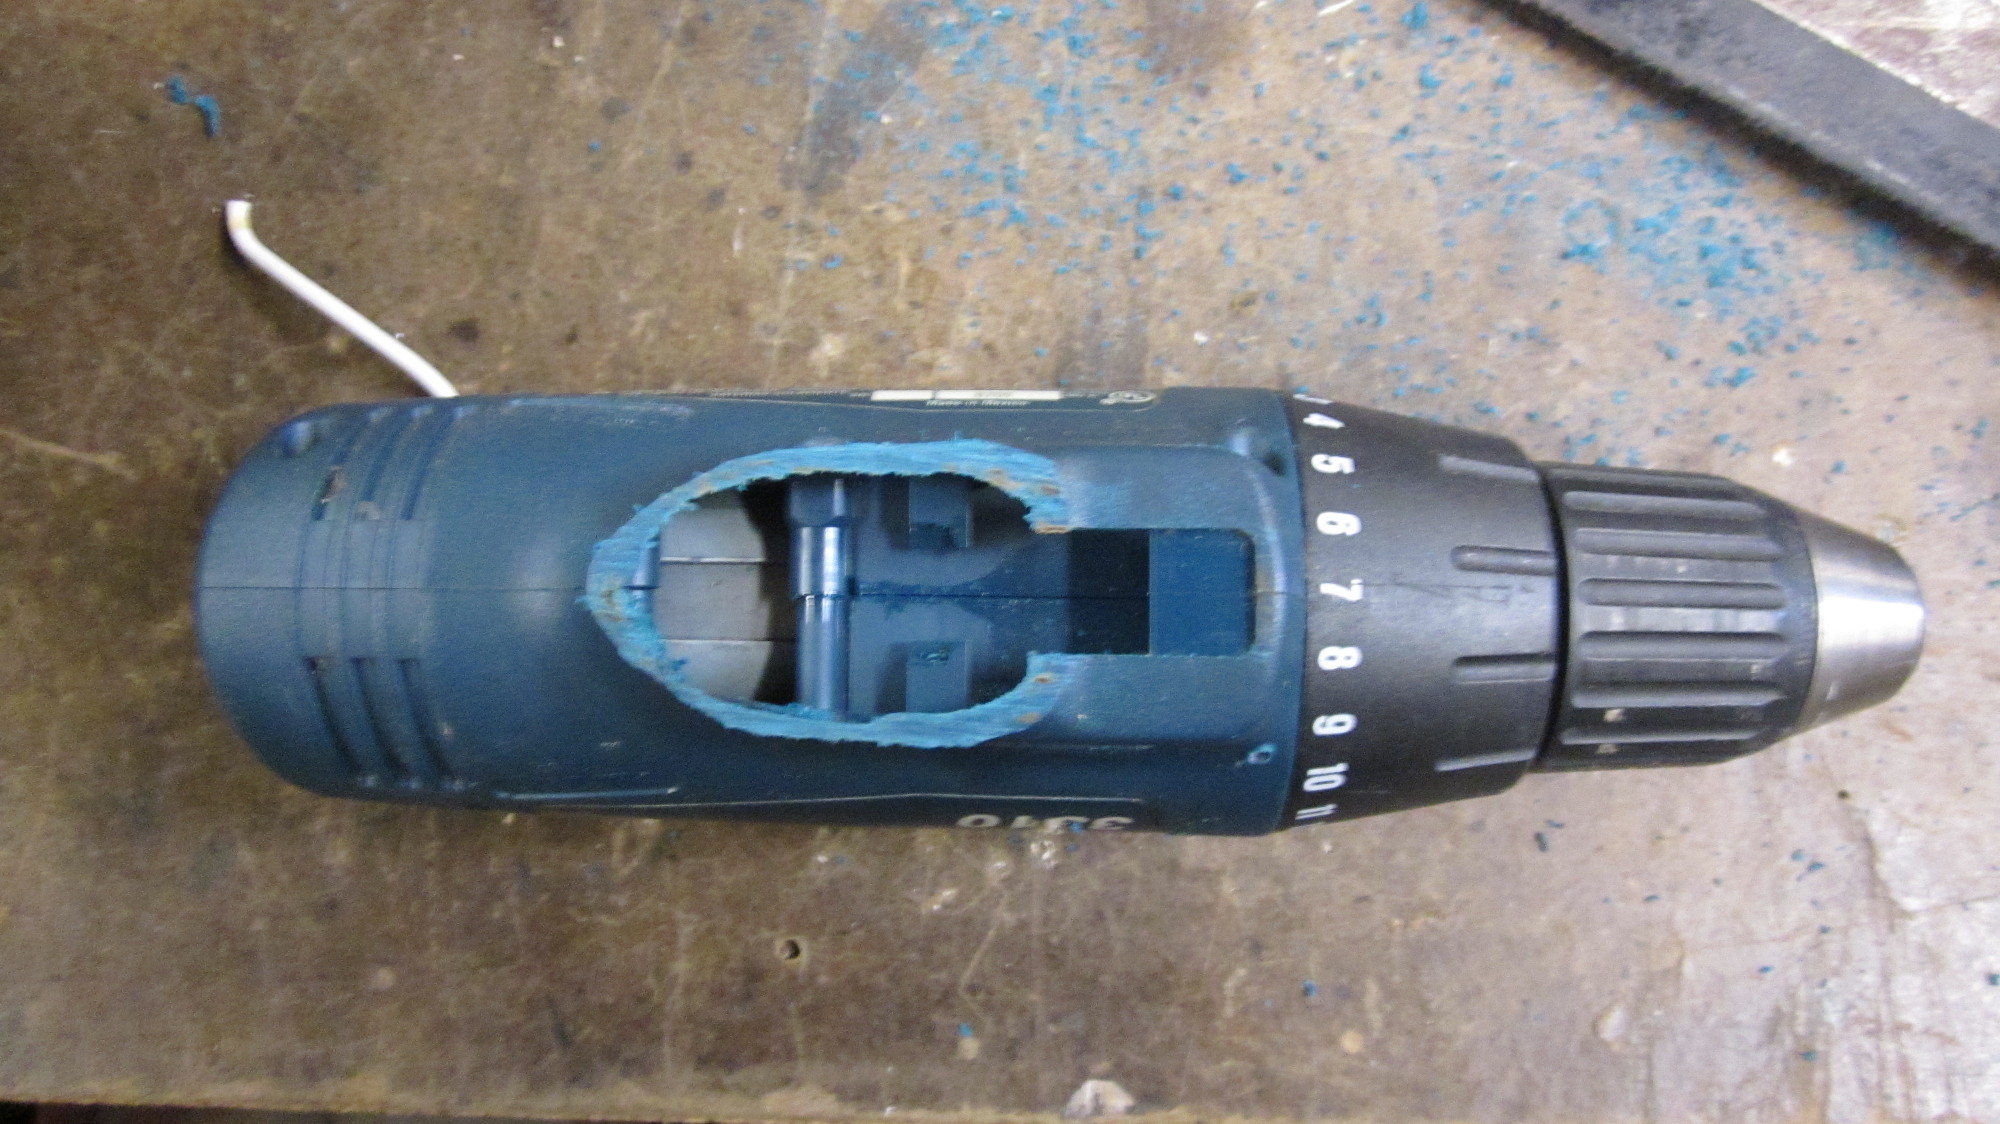
This is what the drill will look like once the handle has been removed.
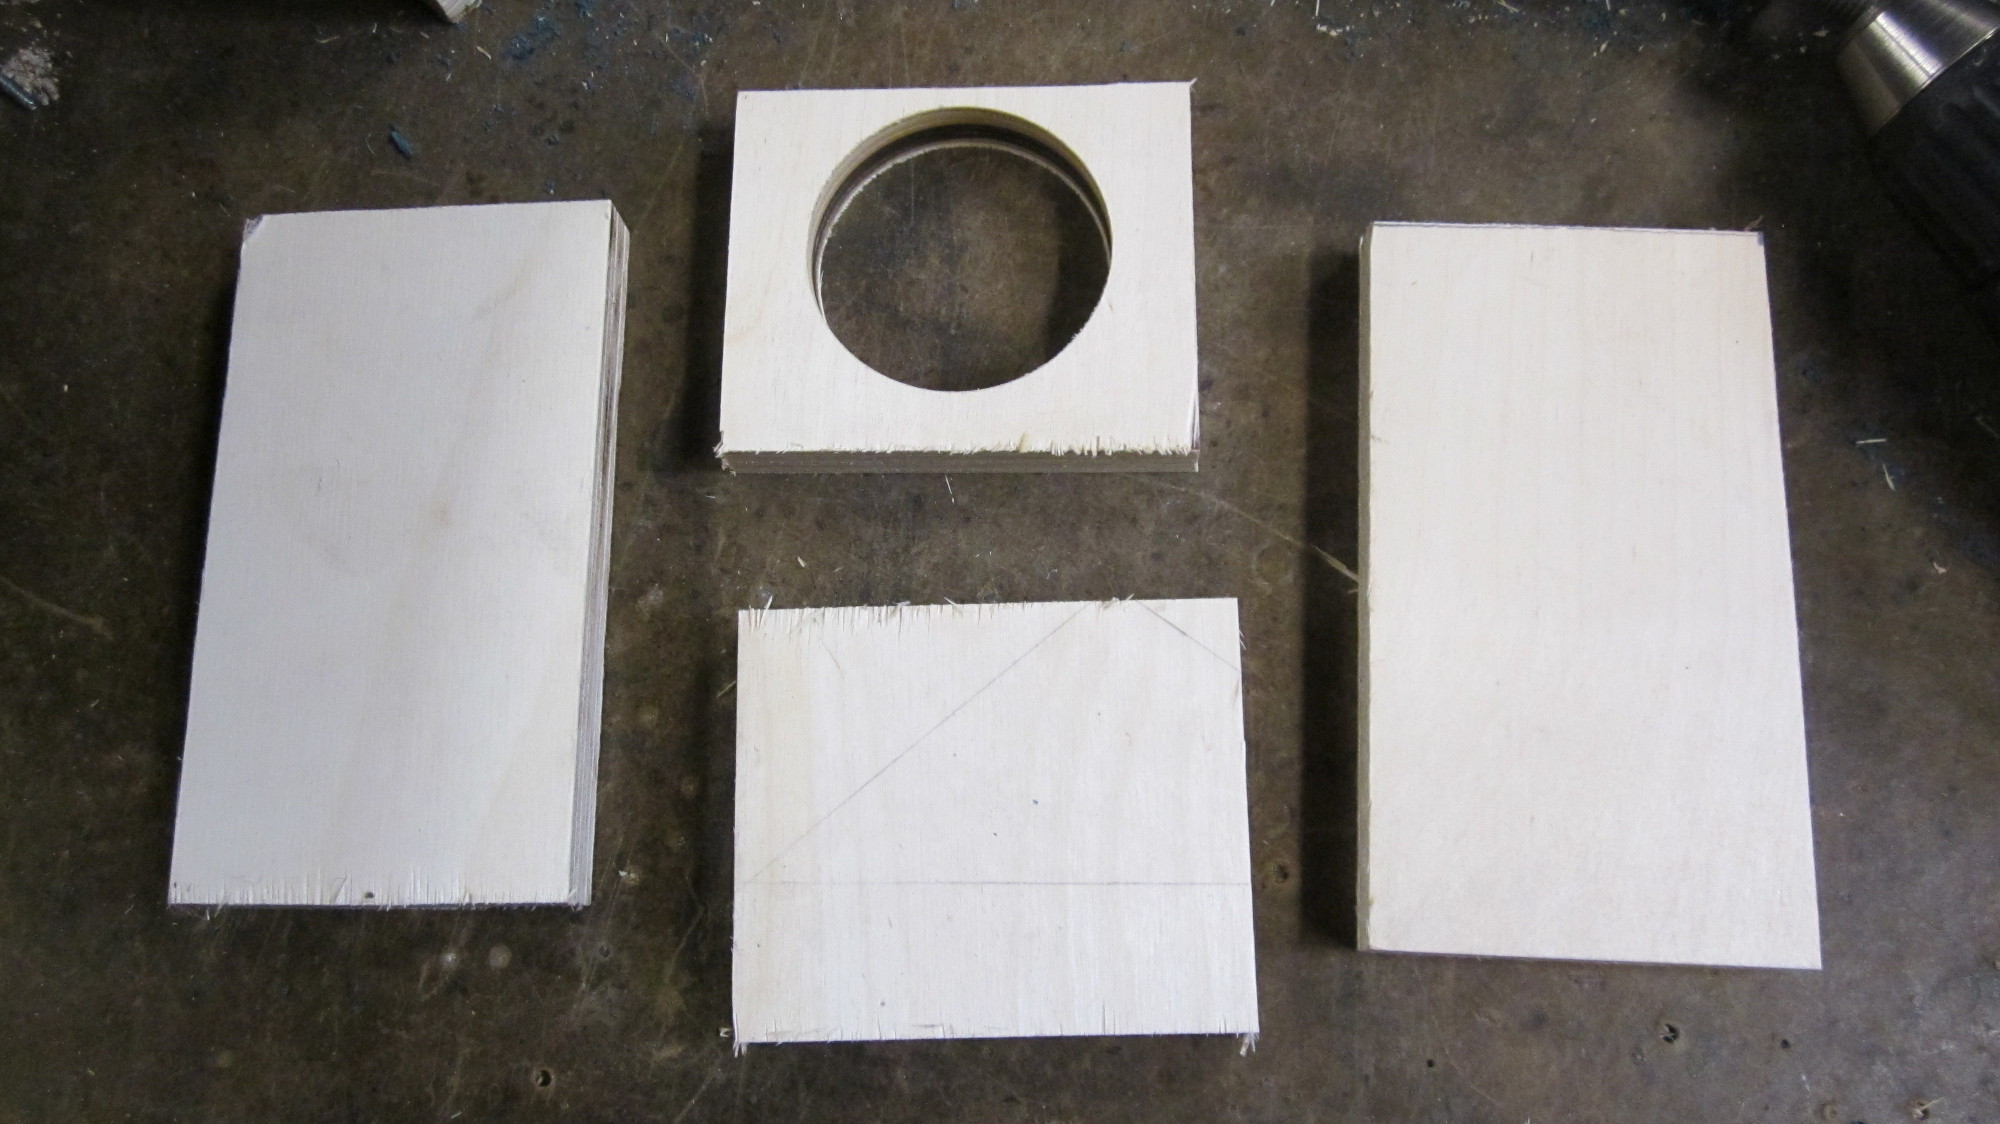
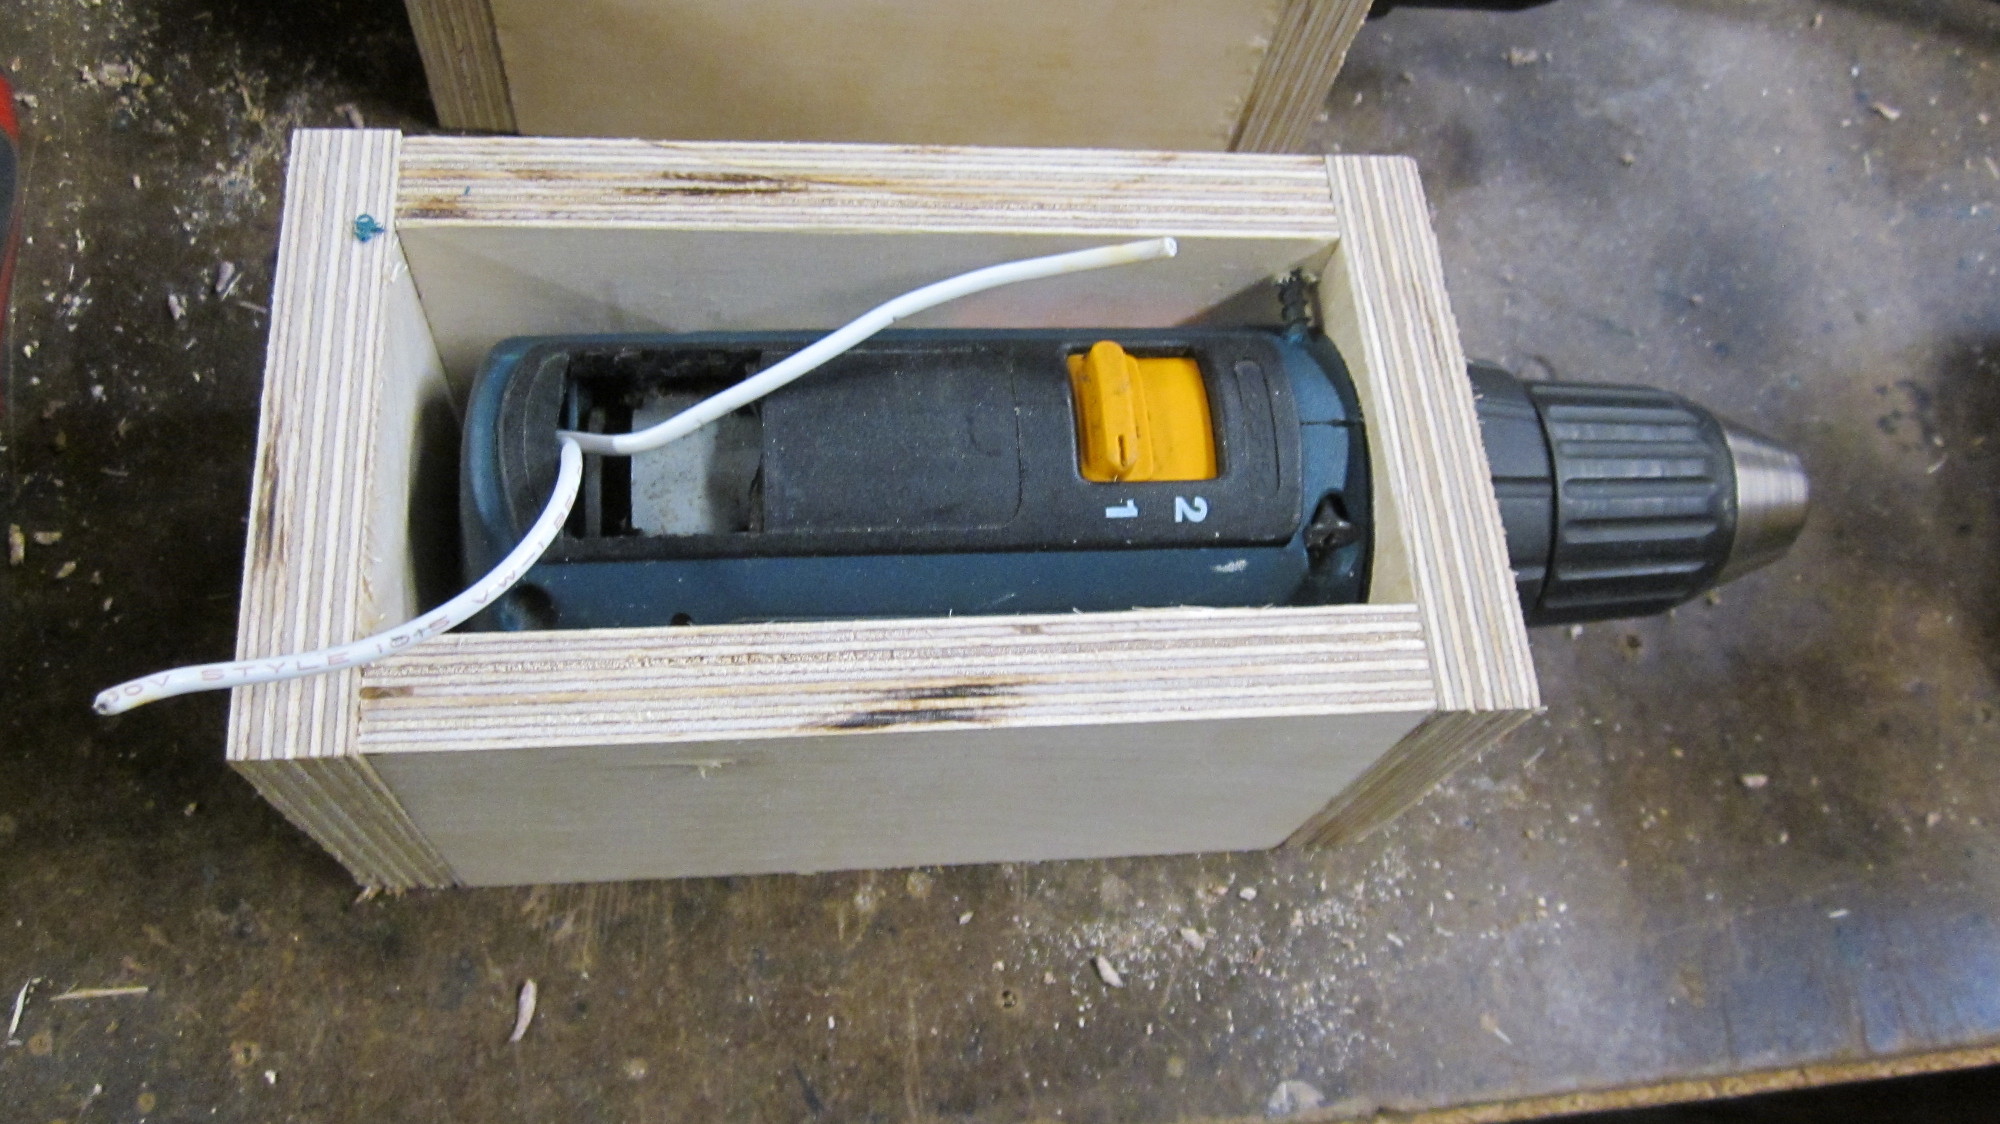
You will need to measure and cut a wooden enclosure to fit the size of the drill you are using.

Screw the drill to the wooden enclosure.
This is how the drill should look with the wooden shrouding attached.
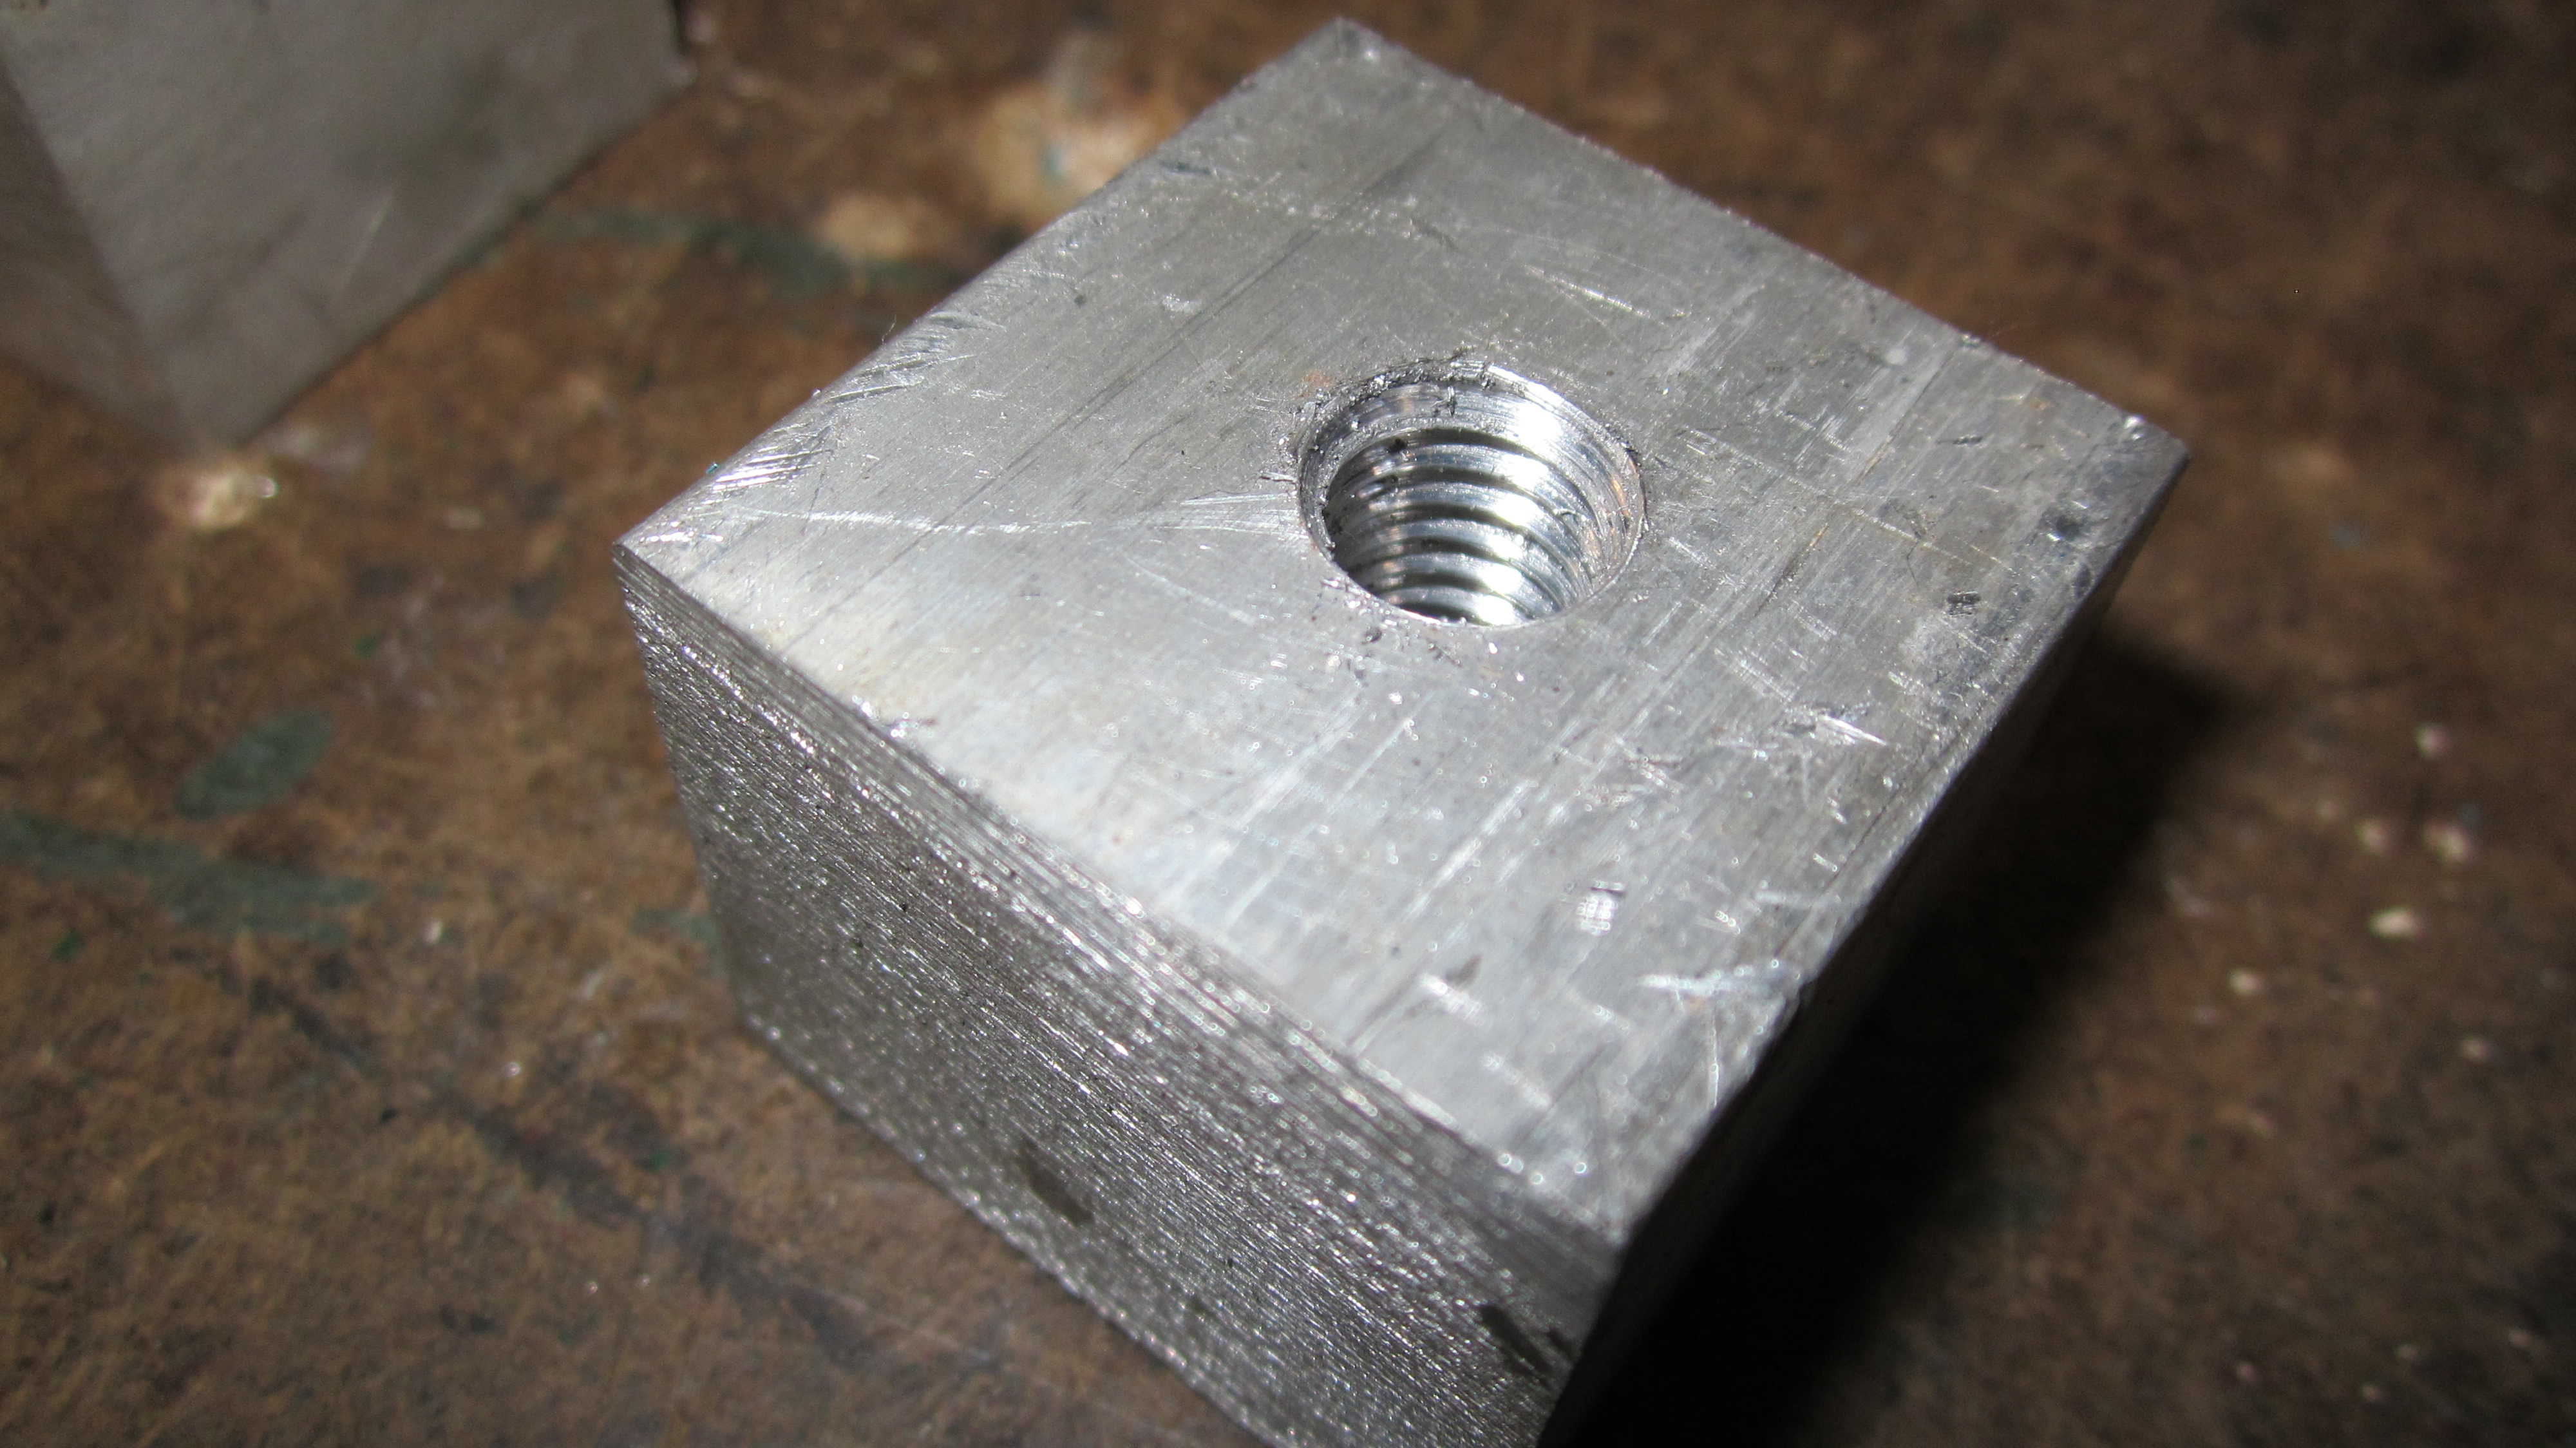
I used an a x b x c block of aluminum. A hole was drilled through the center, and then tapped with a x/y inch tap to match the x/y threaded rod.